Sophie’s 3-Patches
After I made the first four blocks (for the photo I sent in the sneak peek e-mail), I started thinking about setting ideas and wanted to make more to play with … in less than an hour I had 14 more blocks made, for a total of 16–9 for chances I’m donating and 7 extras just because.
I’ve updated the June Guidelines with some of our virtual blocks in a couple of possible arrangements … here are two more (that were easier to create in fabric than HTML).
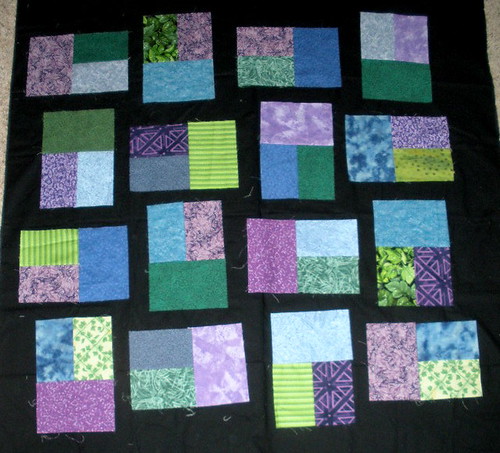
If you cut 2 by 9 1/2 inch strips of background and added them to the two long sides of each block, you would have 9 inch squares and could put them together something like this. It’s the same concept as the variation on Flying Geese blocks we made a couple years ago.
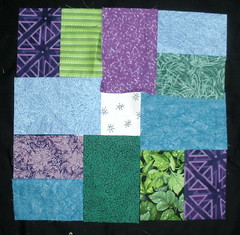
 Another way to create square blocks from our 3-patch rectangles is to cut a 3.5 inch square and use it as the center, with four of the 3-patch rectangles sewn around it, like a Bright Hopes block. The resulting block would be 15 inches square and look something like this. (I confess I initially pulled a dark purple scrap to lay in the center … but it was just TOO RED-violet and looked horrible).
Of course, if you really prefer simple square blocks to our simple rectangular one, you could always square up the blocks you might win and trim them to 6 1/2 inches square. I confess I thought of this after seeing SQUARE 3-patches Kate used in the Pair of Scrappy Tops on her blog. You can see what our blocks would look like trimmed into squares by using the square thumbnails that Flickr produces as virtual blocks.
(This also gives you an idea of how all our fabrics will look together, with allowances made for the hard-to-photograph colors).


