Sophie’s Blocks (and how I made them)
So far I’ve made two blocks:
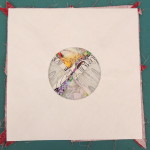
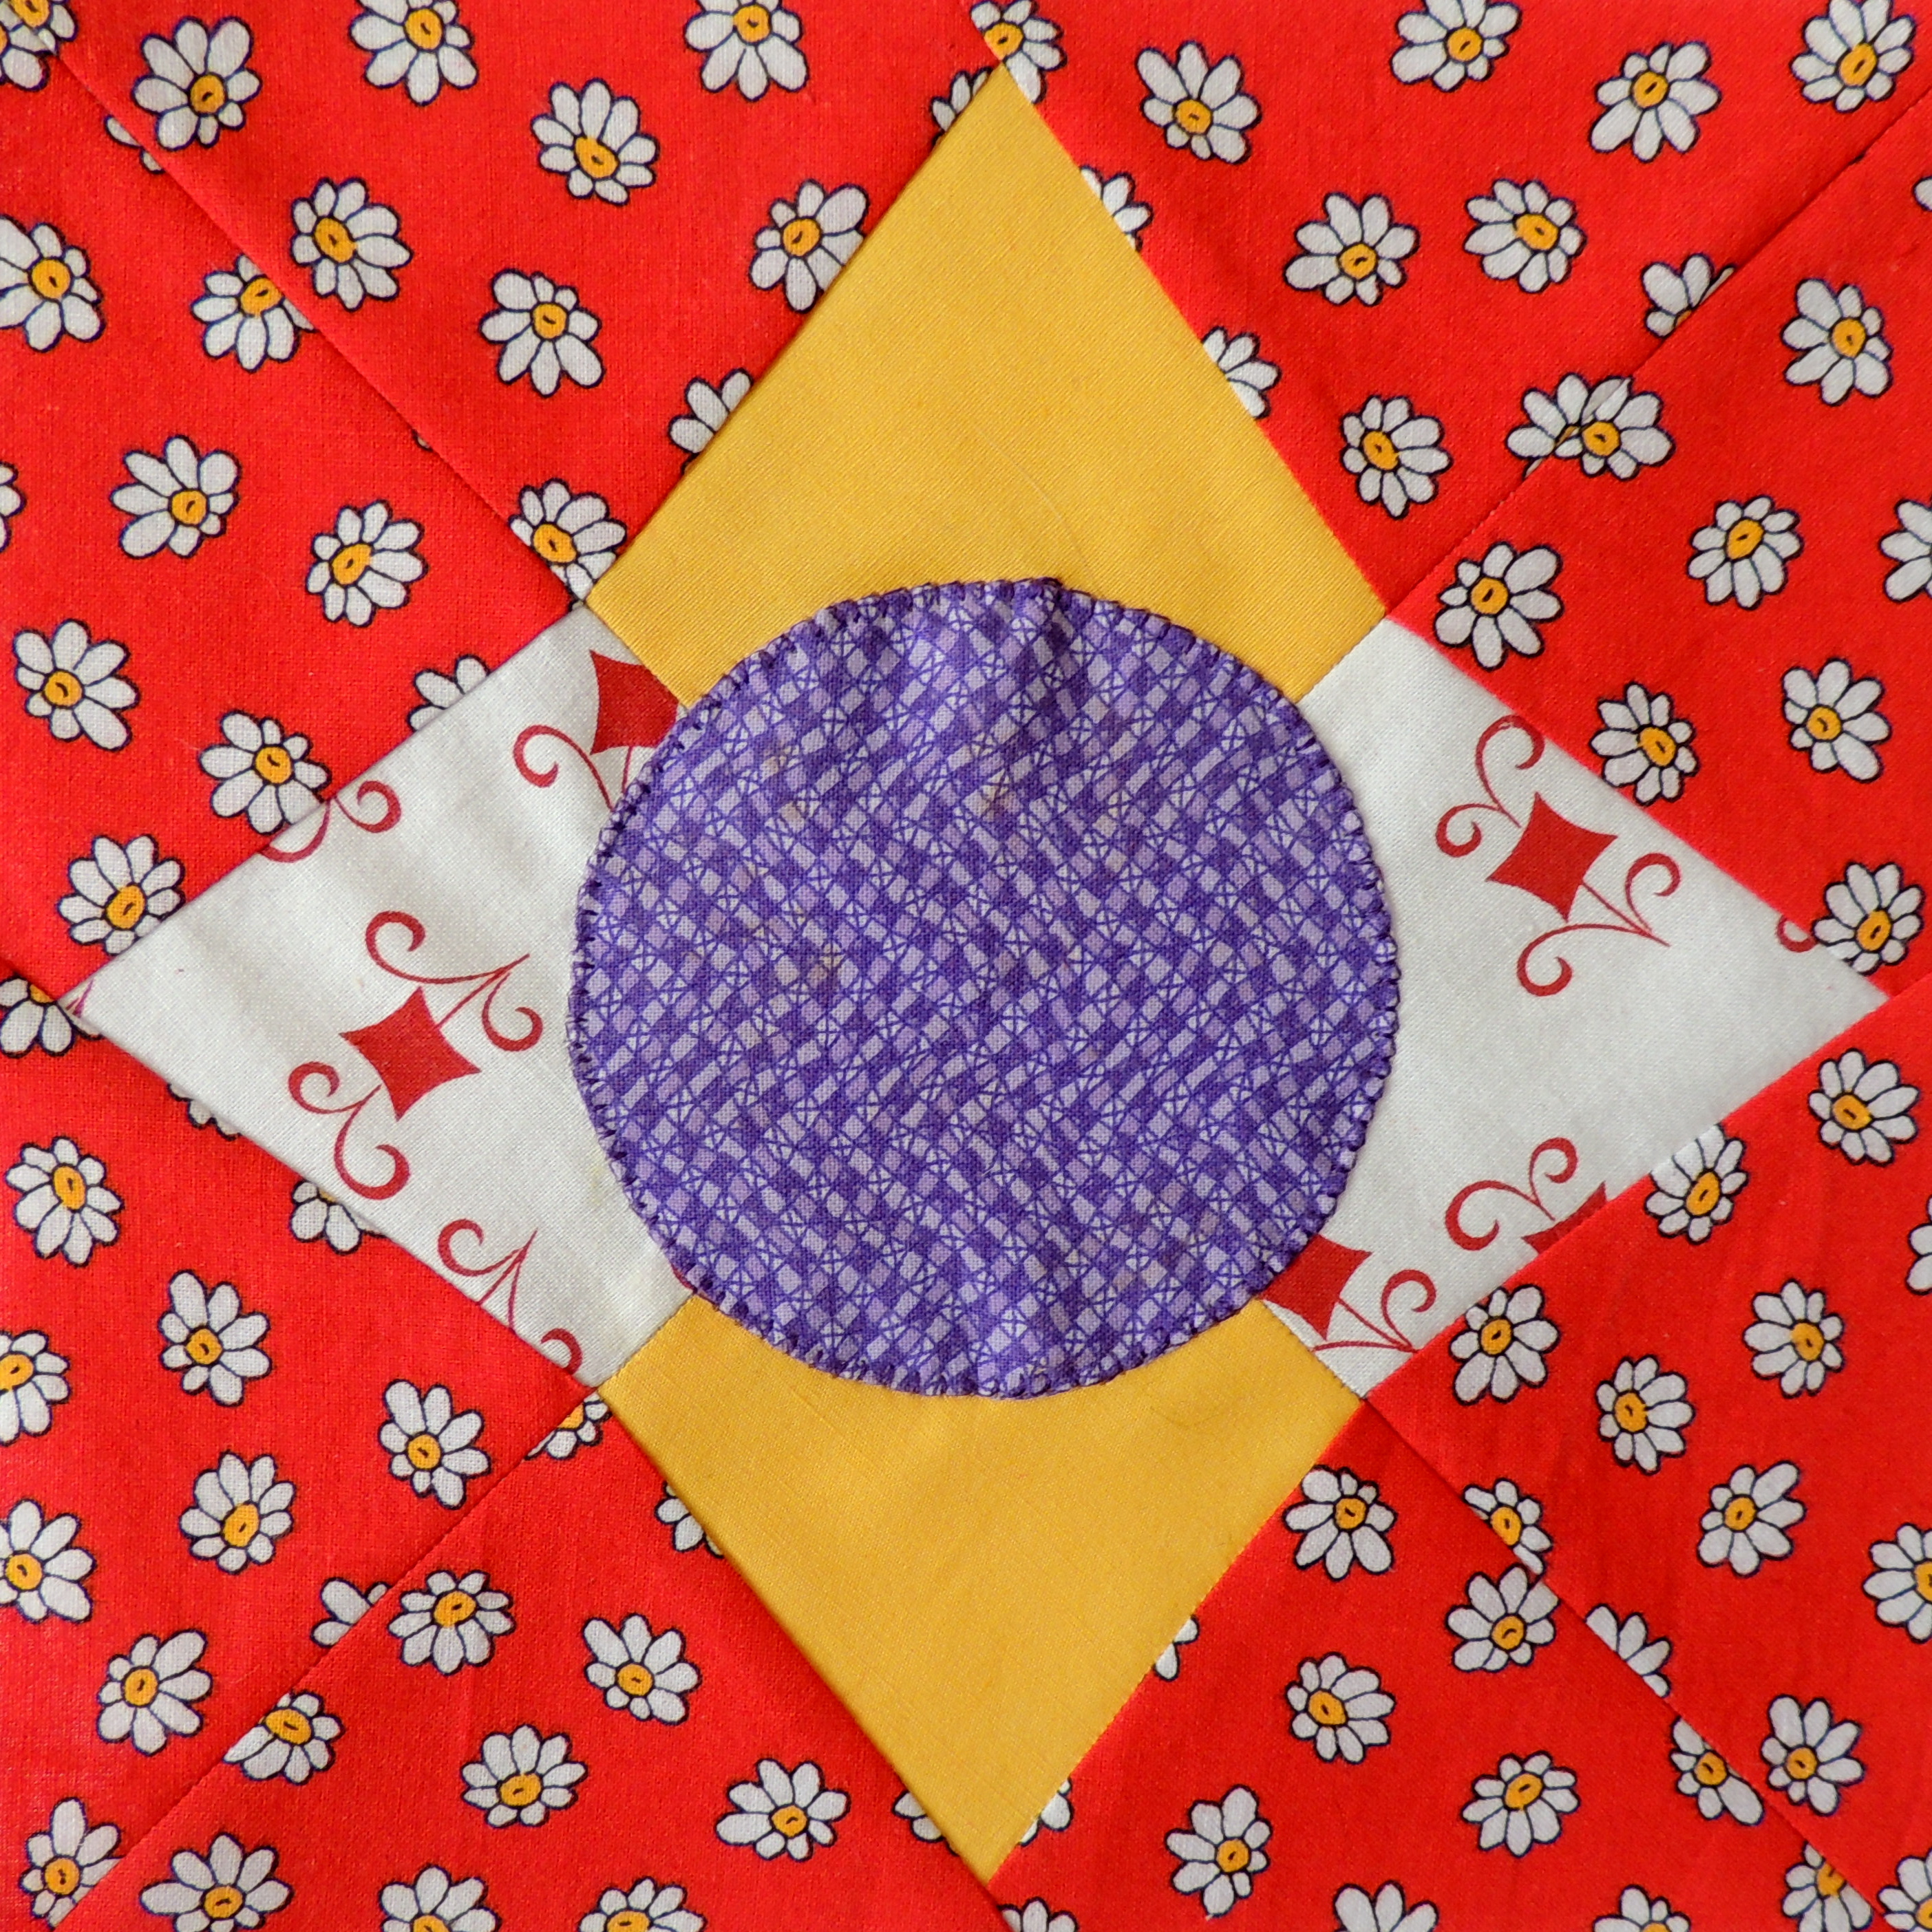 This is the first one.
For the paper-piecing, I didn’t make templates as described in the tutorial I linked–though I highly recommend that approach if you’re going to make more than a couple blocks. I just cut the fabrics much larger than I thought I’d need and trimmed as I went along.
To prepare the circular element, I used the technique I blogged about here:
Preparing Circular Elements for Appliqué
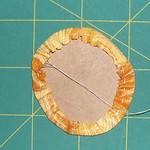
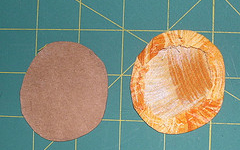
I glued the printed circle to some lightweight cardboard and carefully cut the inner circle (with no seam allowance) to create the template. Then I used the circle template to cut the fabric, adding a generous seam allowance and, using a needle and thread, sewed a running stitch used to gather the fabric around the template and pull it tight. Then I pressed the circle (still inside the template) to create a nicely pressed crease around the edge of the circle.
 |
 |
After the fabric has cooled, remove the template and you have a circle with the edges pressed under, ready to appliqué.I used a matching purple thread and my sewing machine’s buttonhole stitch to stitch down the prepared appliqué circle.
|
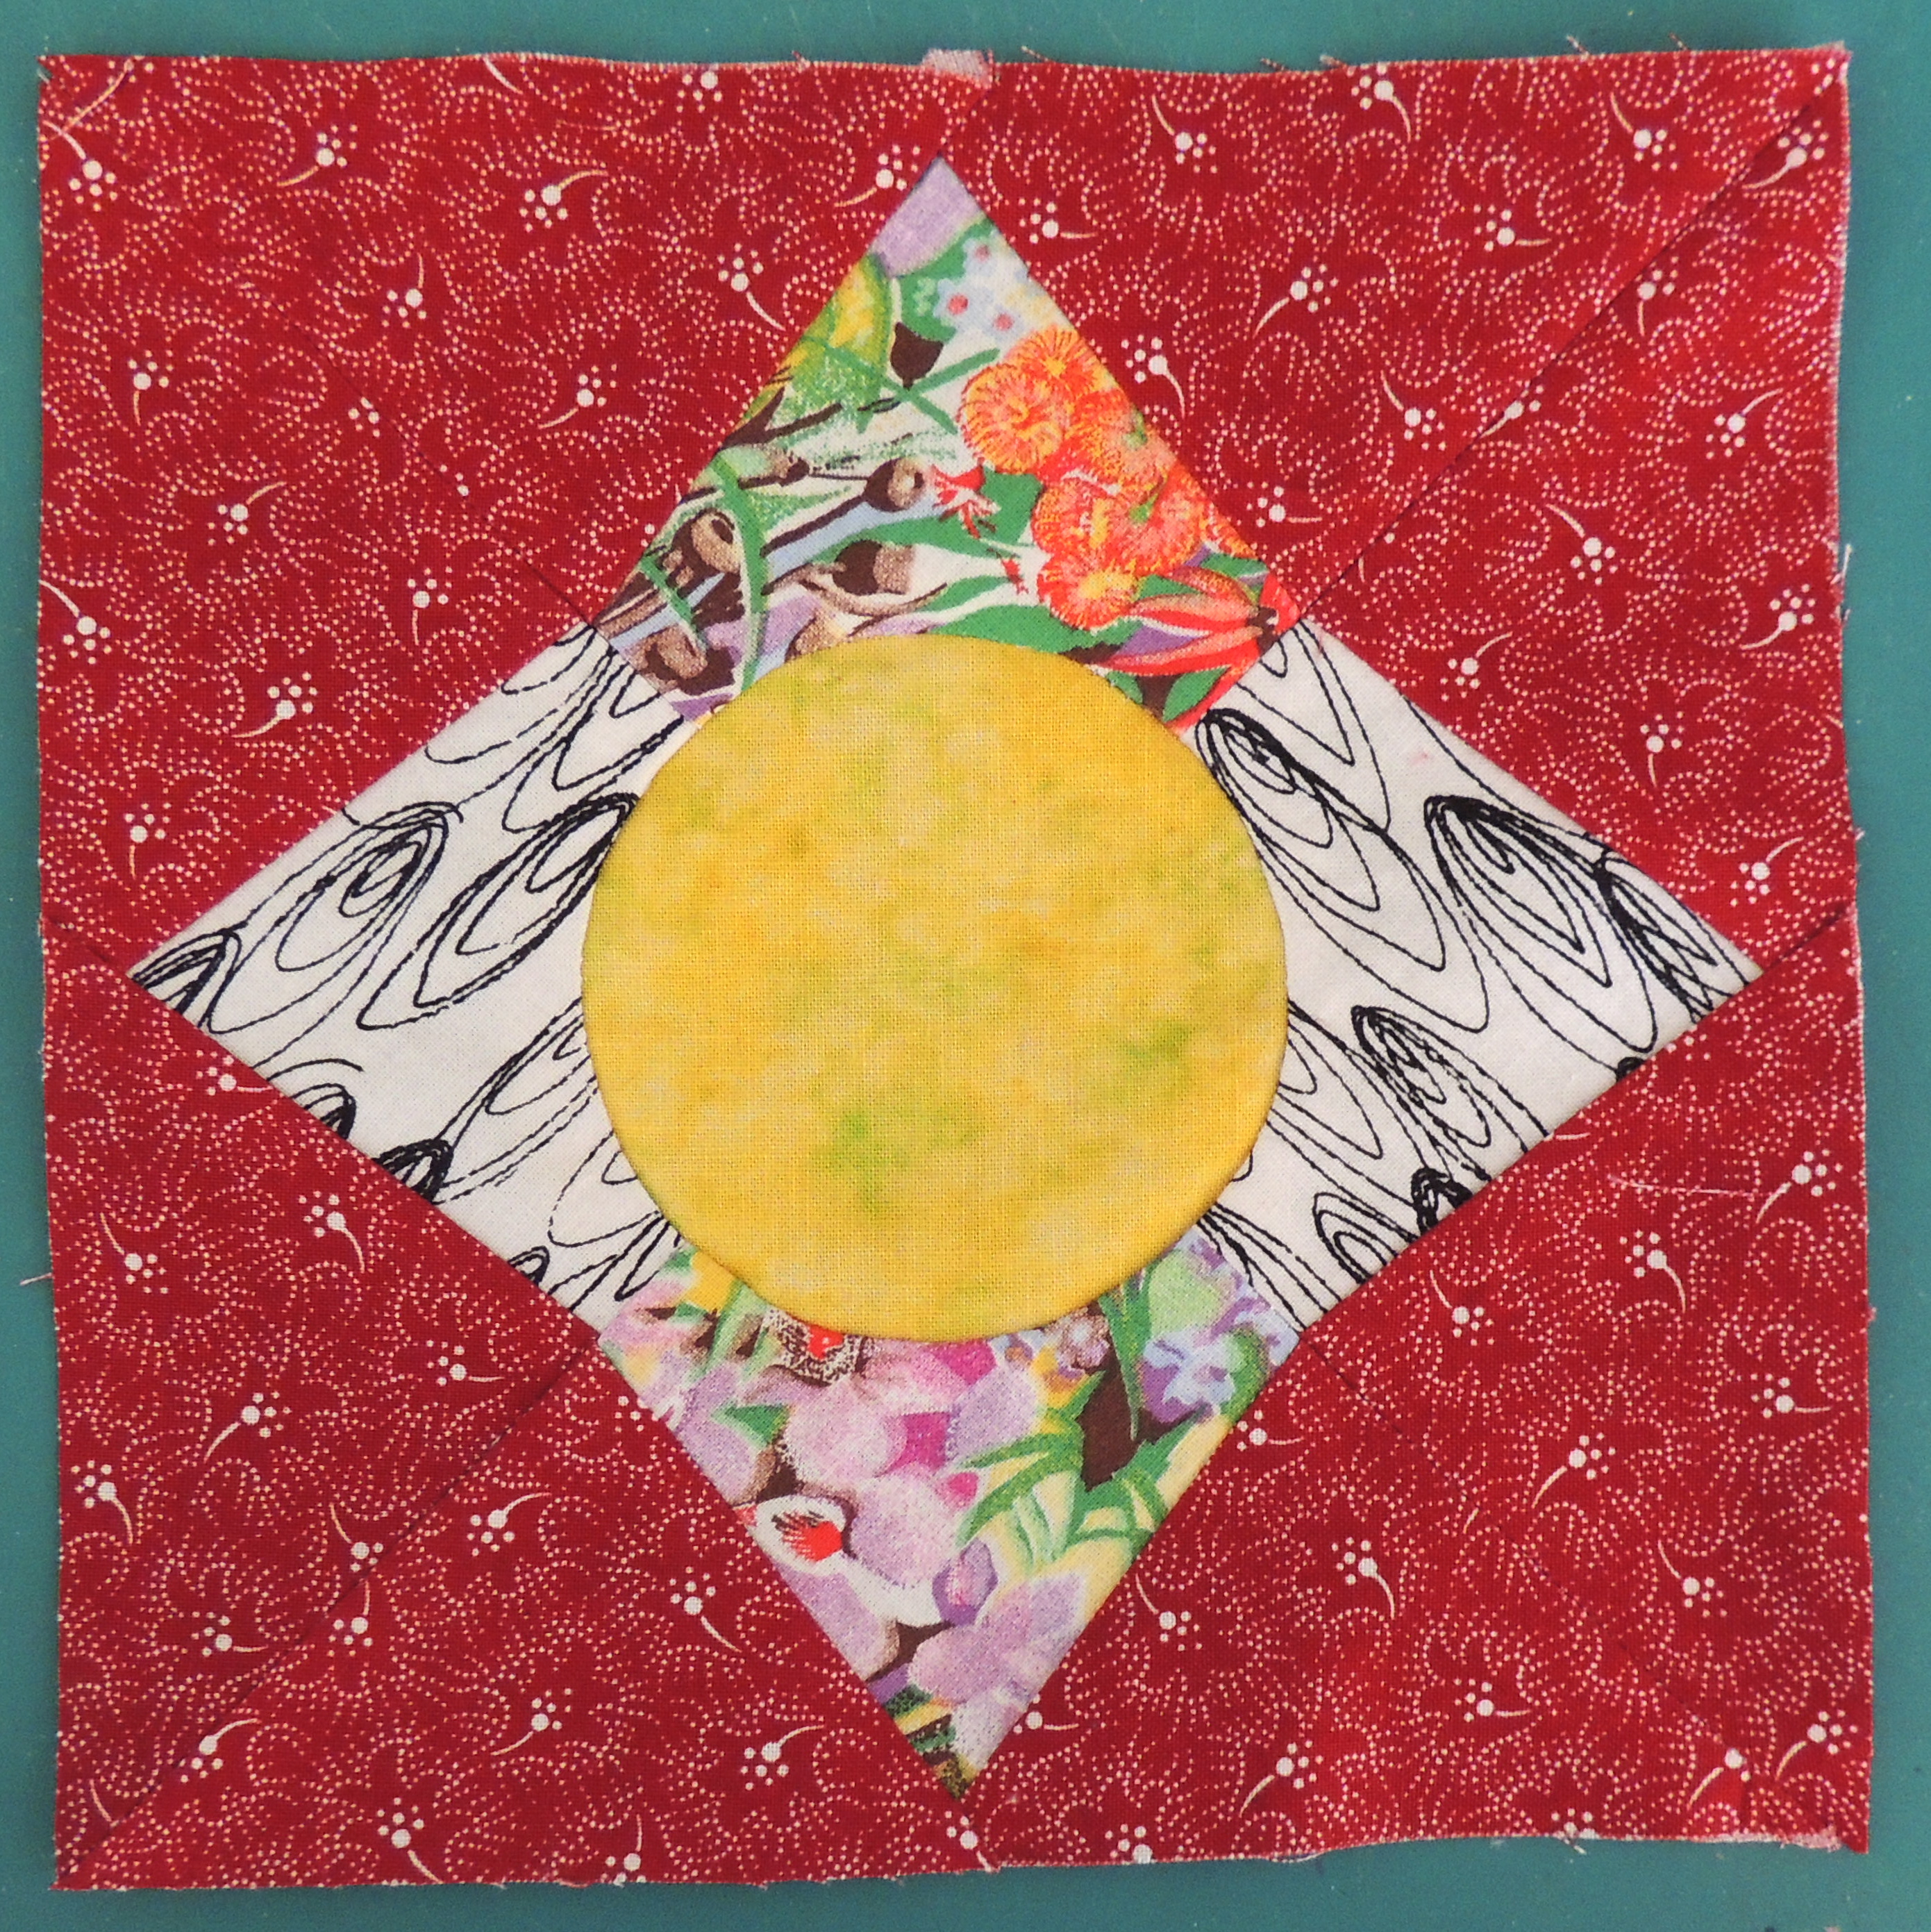
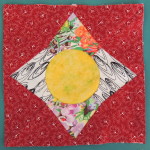
For my second block, I used the 6 minute circle technique to inset the 3-inch (finished size) circle into the center of the block.
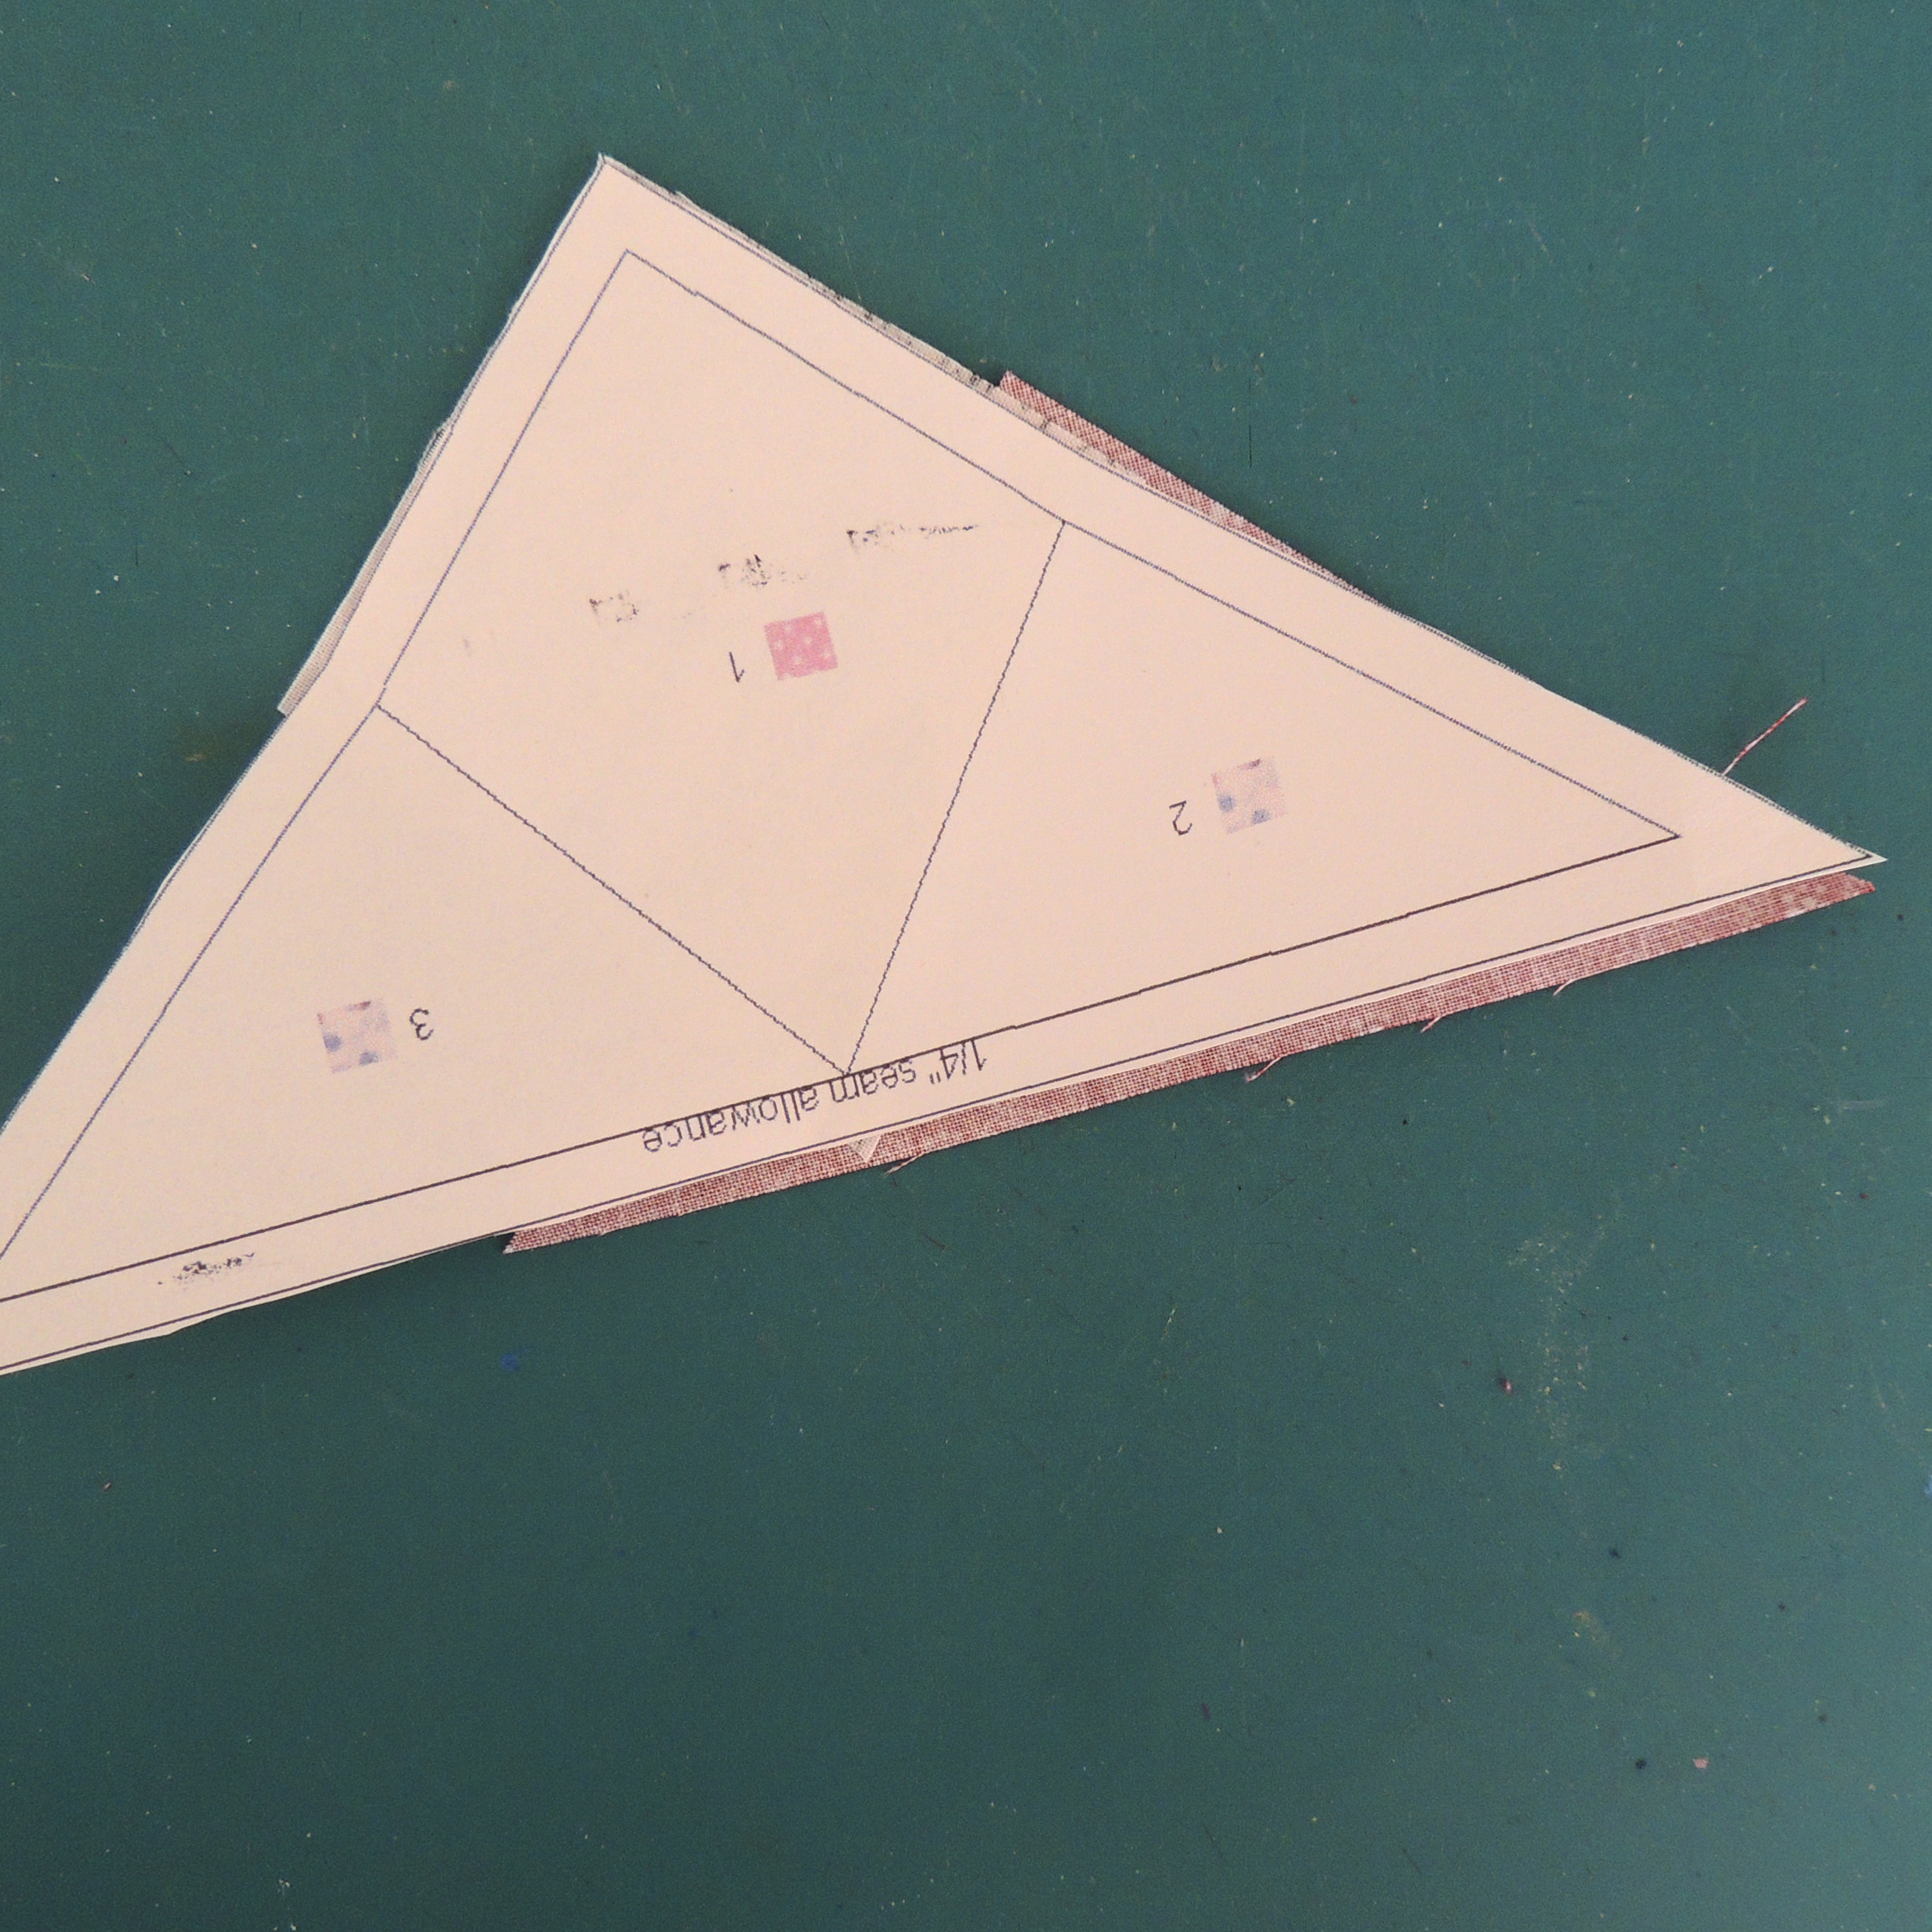
I also thought to take a few photos so I could show you how I cut larger and trimmed that odd angle as I was putting the block together (and ended up with on-grain edges on my block when I was done.)
I roughly cut my fabrics to start:
- 3 1/4 inch squares for the POINTS
- Two 6-inch squares, each cut diagonally twice, from the RED, to create 8 quarter-square triangle (QST) shapes.
- 4 inch square of CIRCLE fabric
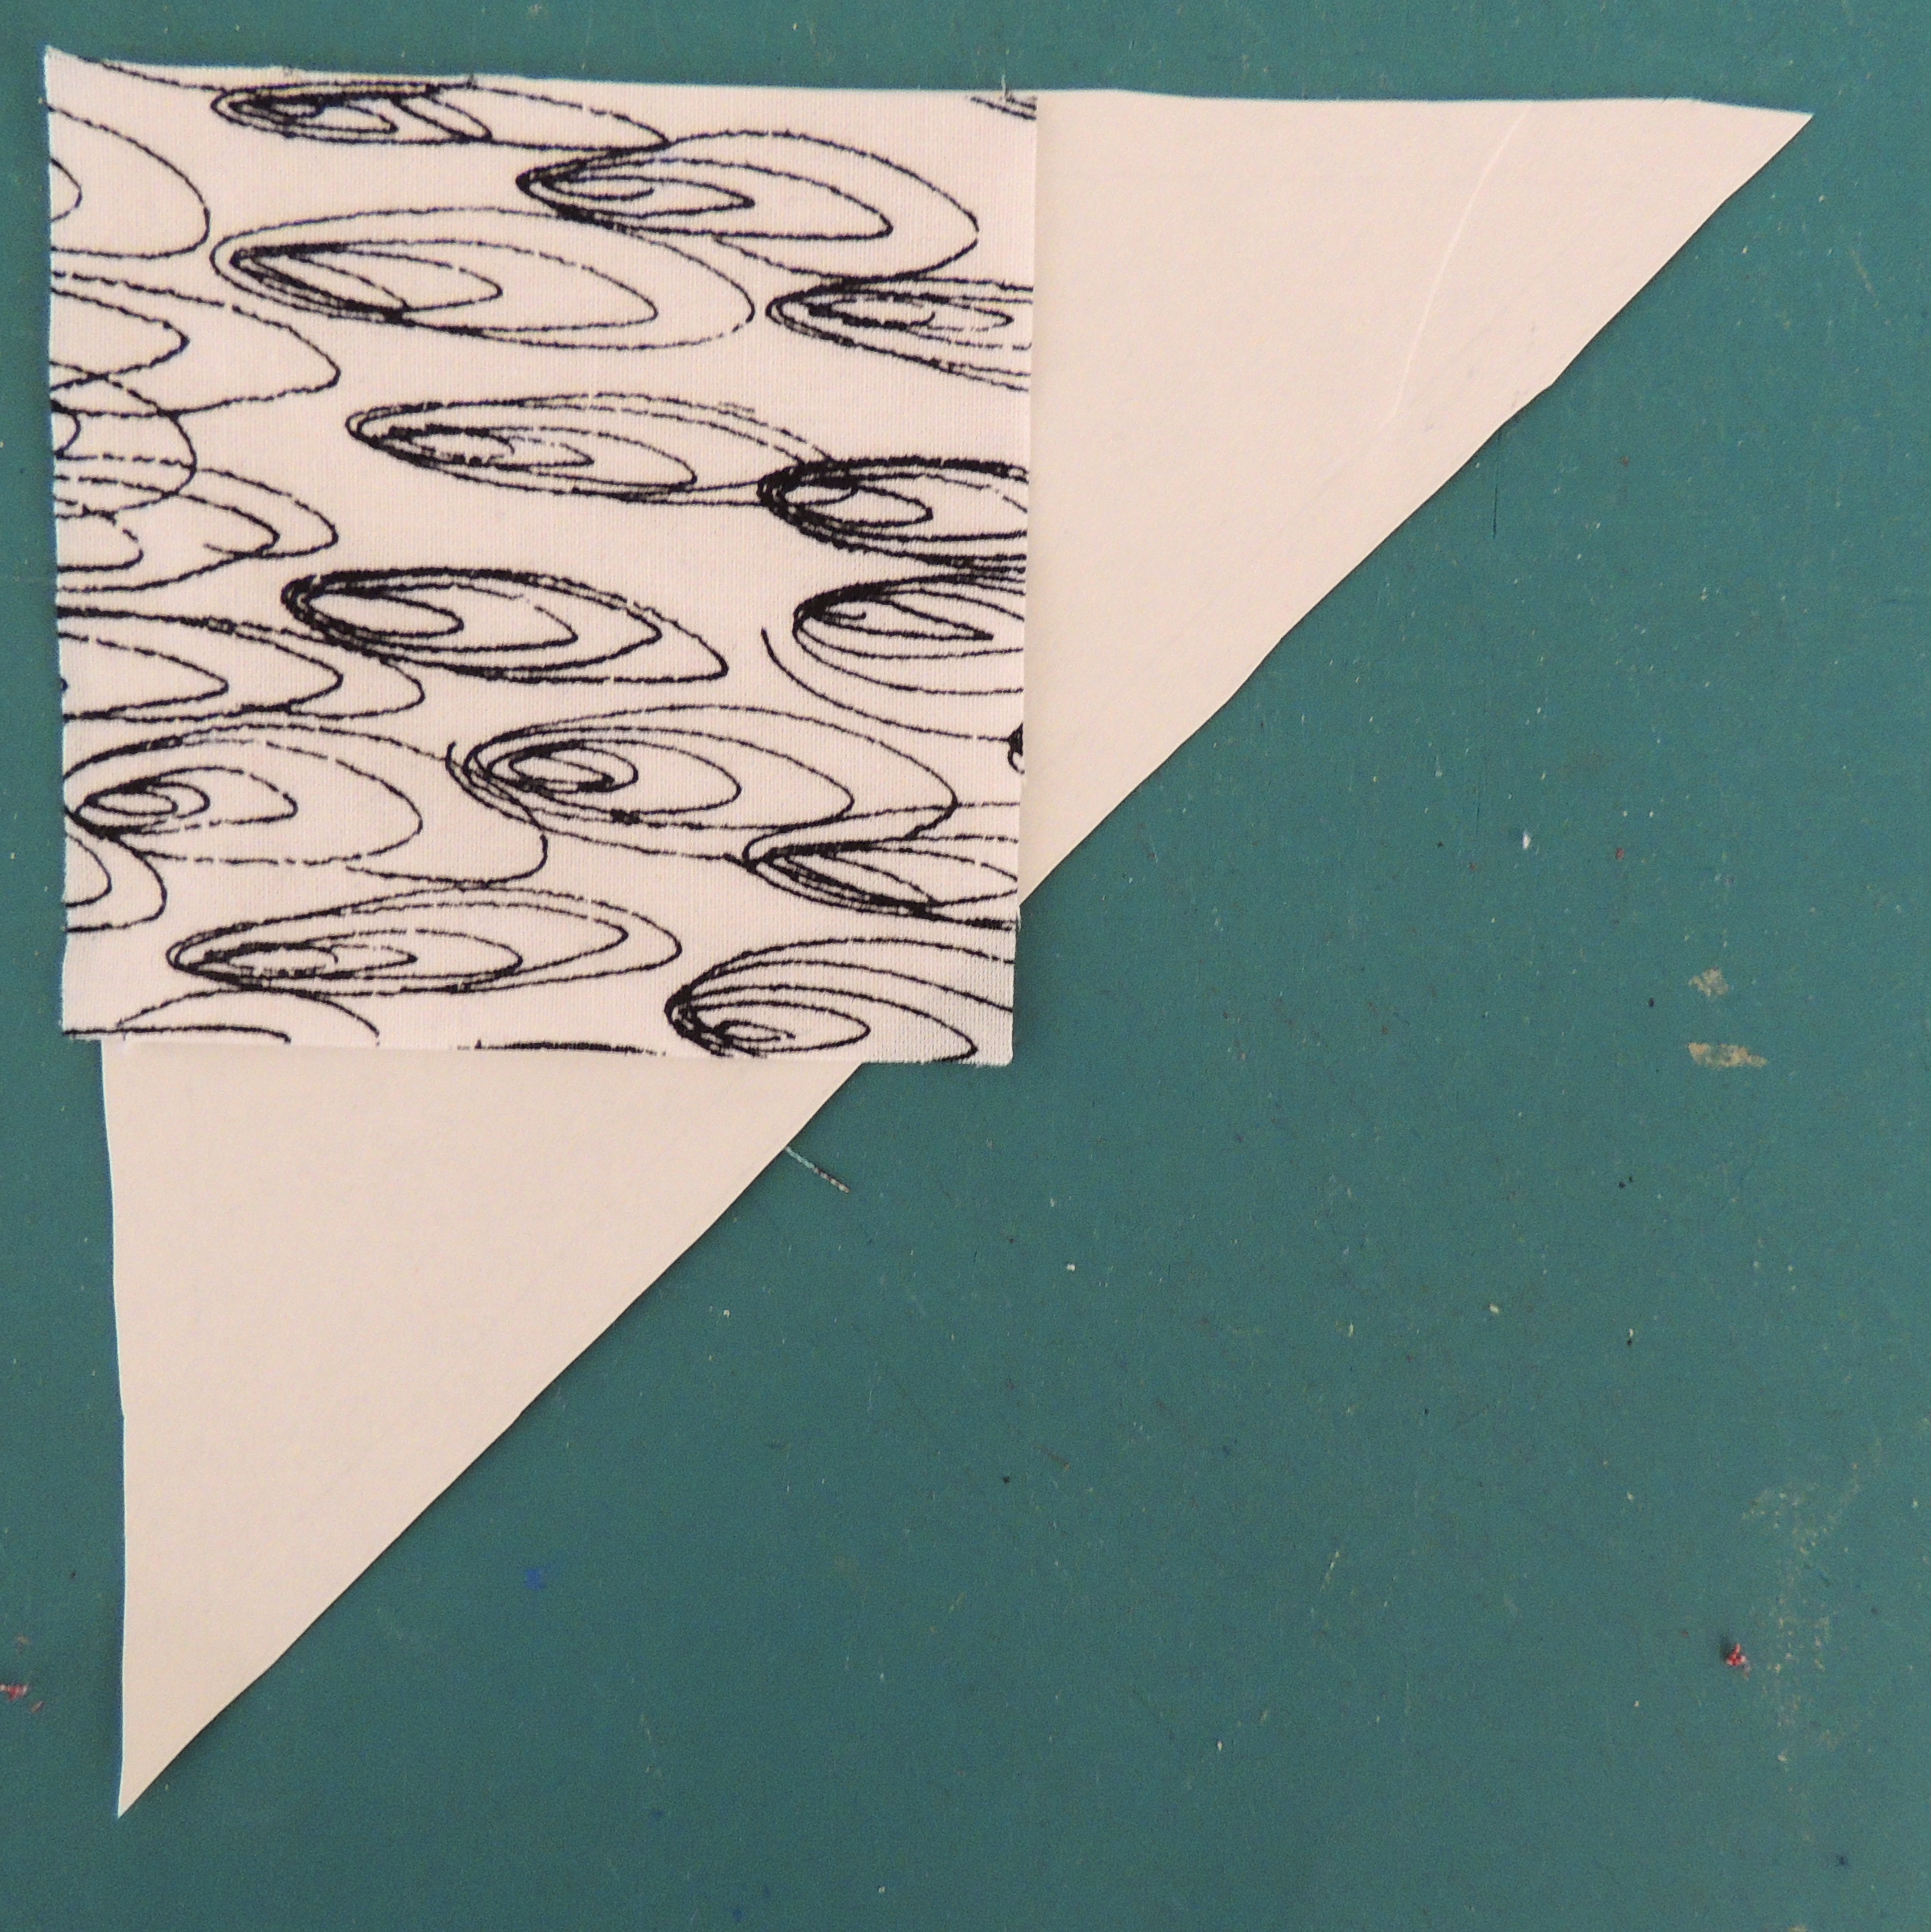
To begin, I aligned one corner of the 3 1/4 inch square with the outside point and used a glue stick to hold it in place. Then I flipped the fabric and template over–the fabric will be right side down on the table, with the printed side of the paper up–and folded back the first seam line and trimmed the fabric 1/4-inch outside the fold.
 |
 |
 |
 |
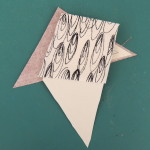
Repeat the process along the other seam and trim the angle of the POINT fabric.
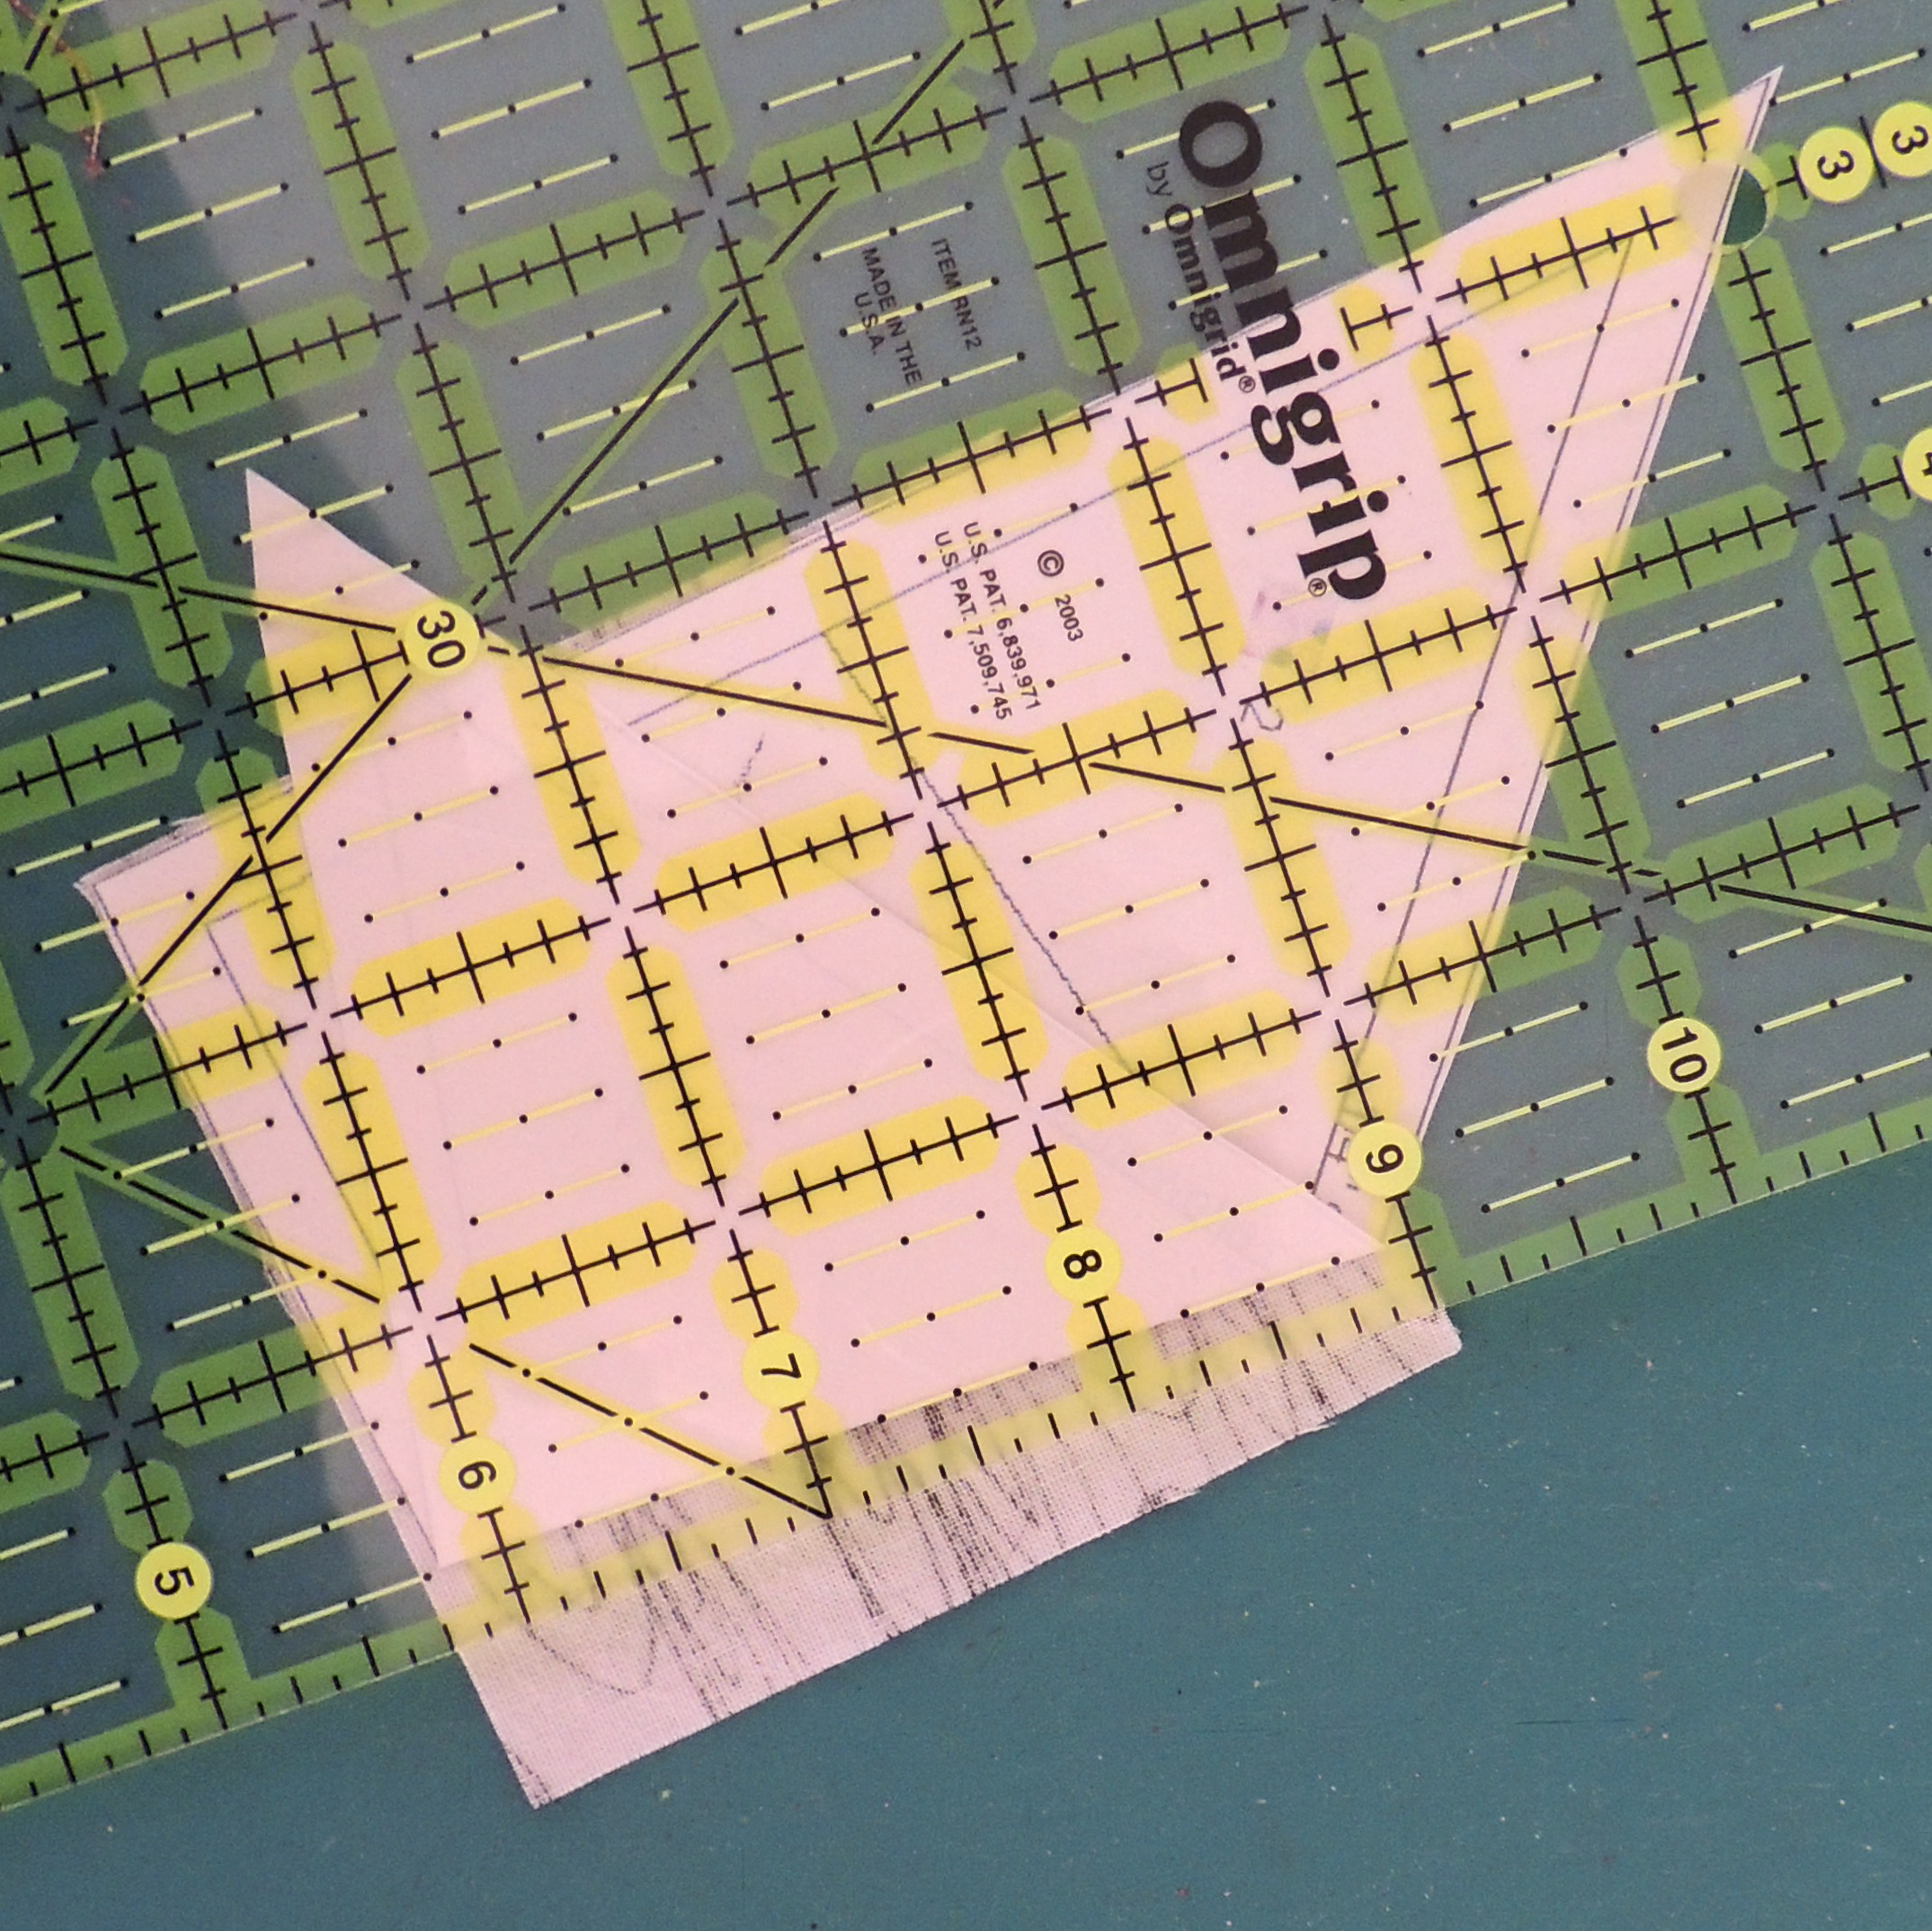
Next, you’ll trim the RED background pieces to match that odd angle.
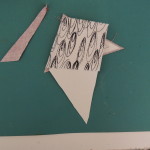
Start by laying a RED triangle right side down on the table.
Align the paper template on top of it (printed side up), matching the outside edges of the triangle with the fabric.
Now fold back paper template along the (already creased) seam line and trim the RED triangle to match the edge of the POINT fabric (which will be 1/4-inch beyond the fold).
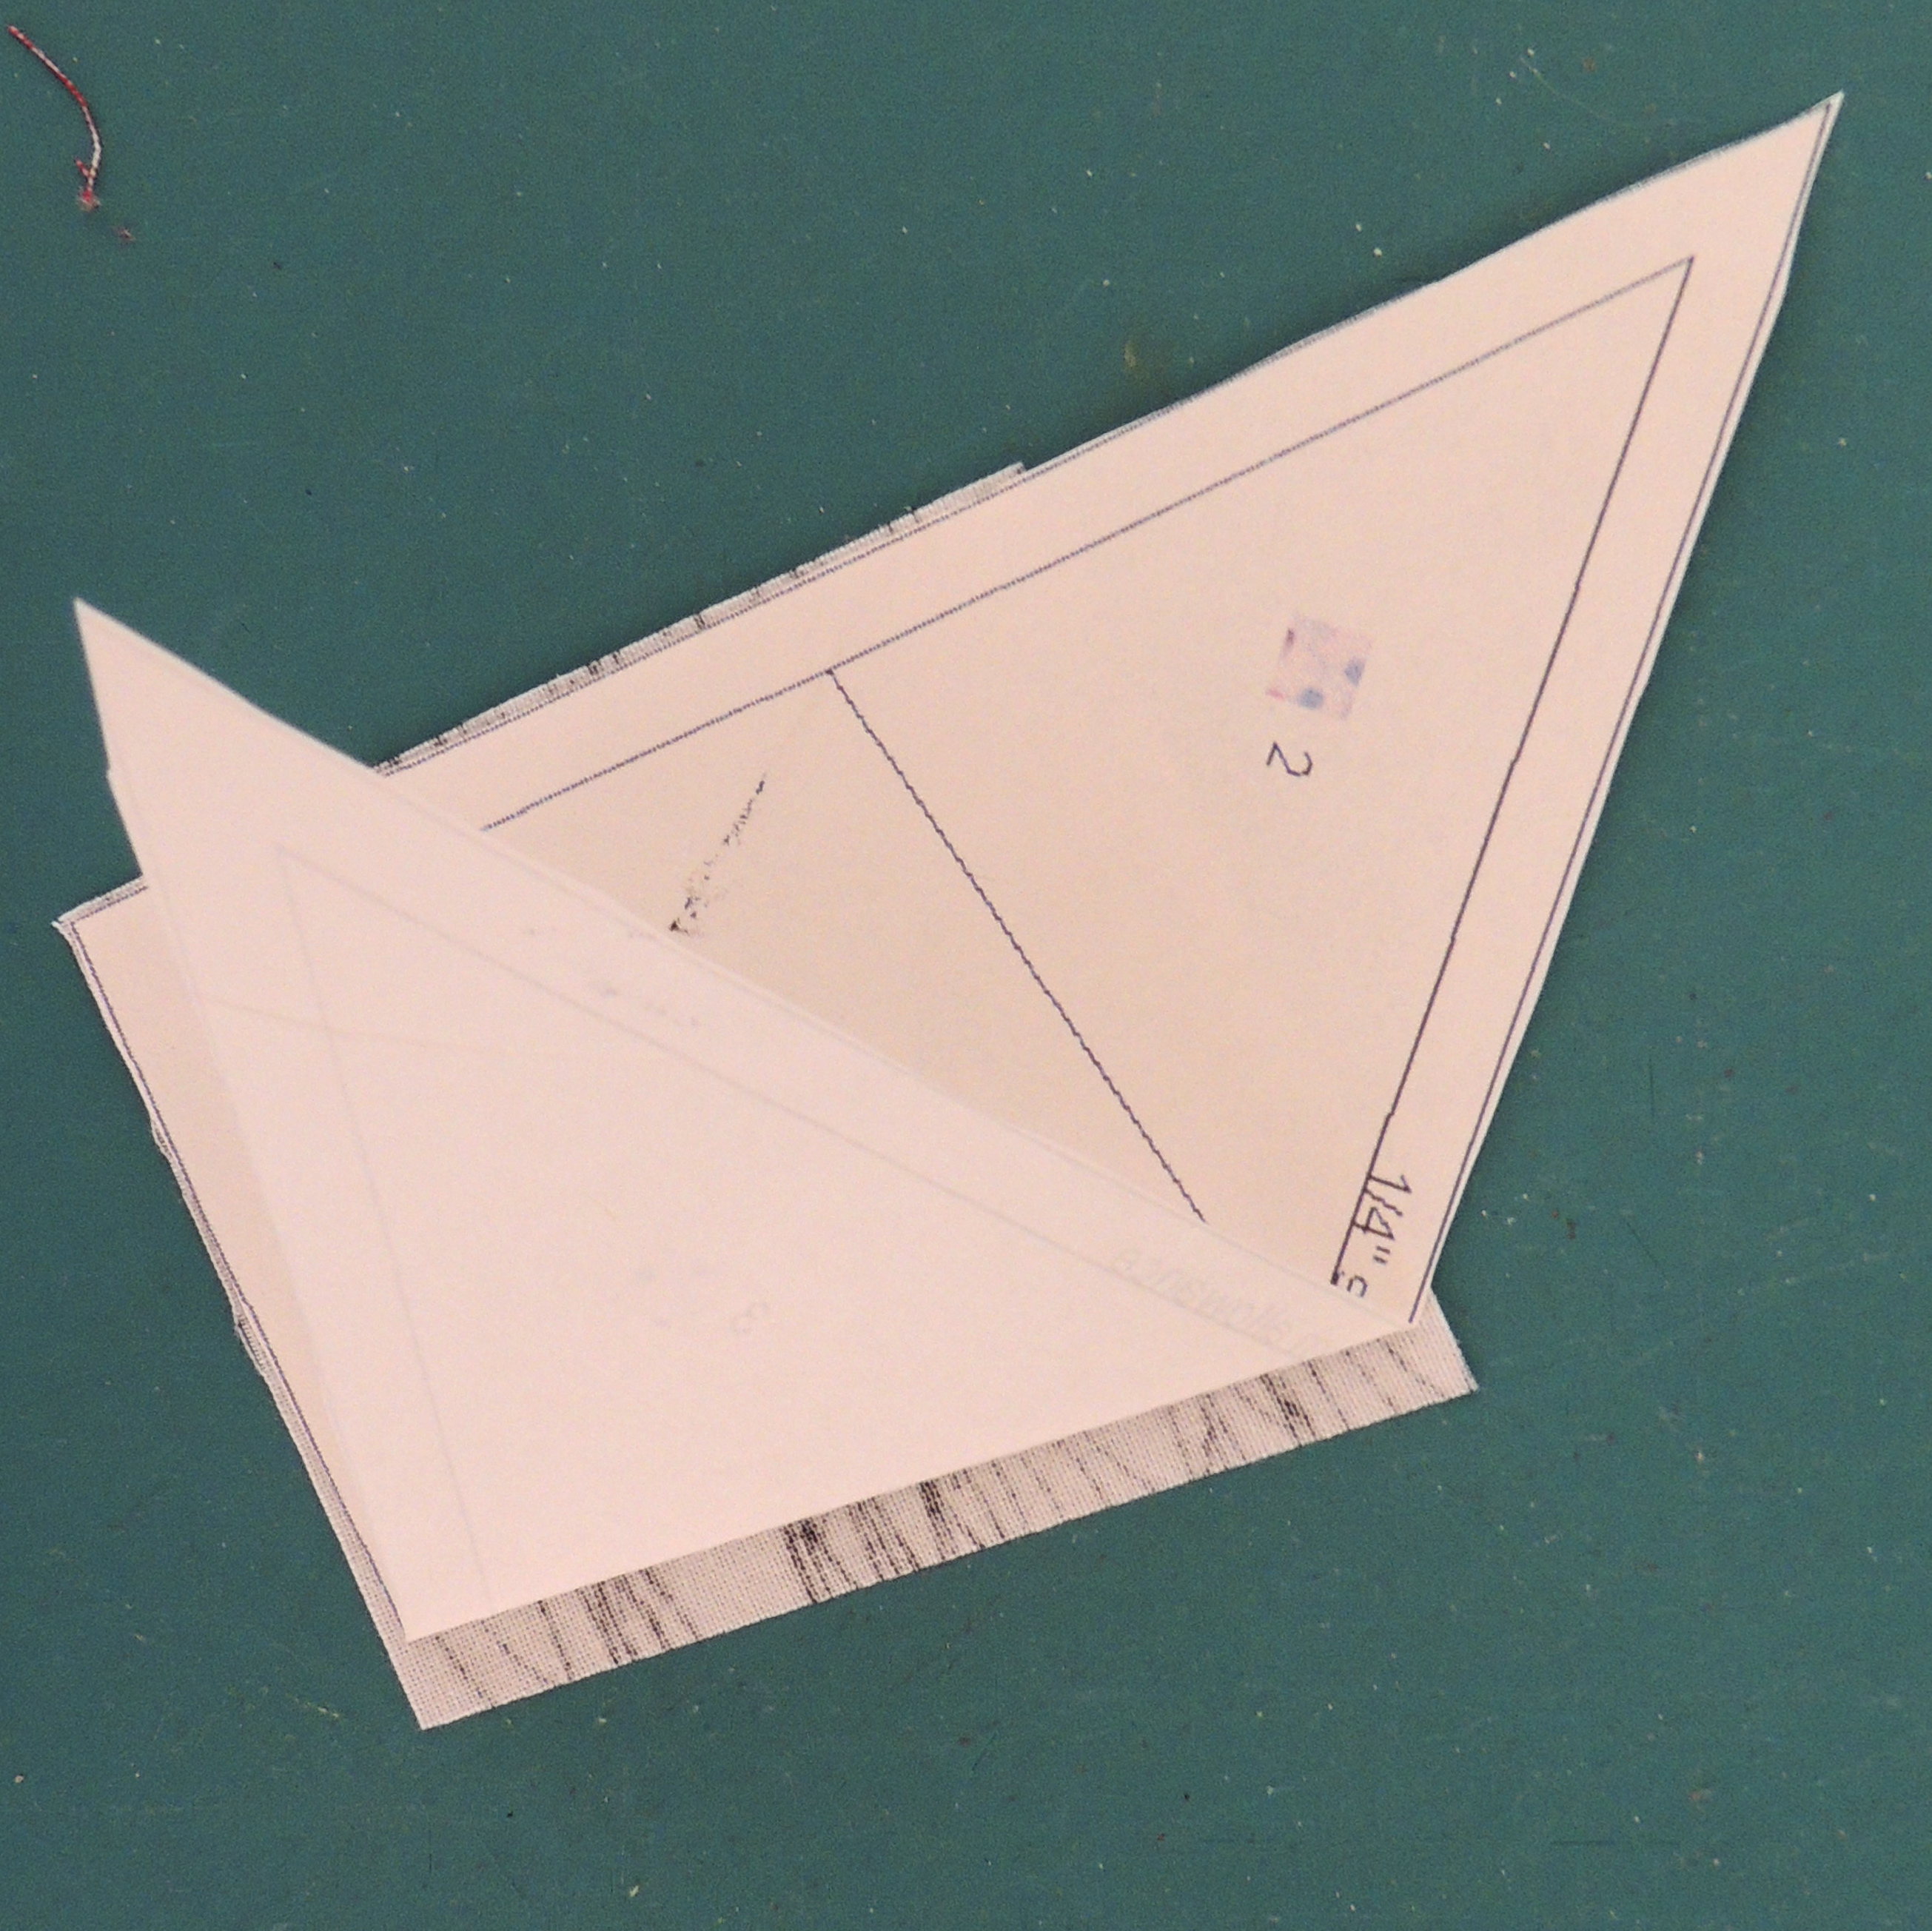
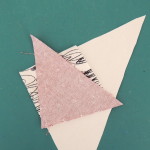
Flip it all over, place the fabrics right side together, aligning their trimmed edges and you’re ready to sew the seam. The angles will work and you’ll end up with a block with on-grain edges and no worries about the fabrics stretching when you put them together in a quilt.
 |
 |
 |
 |
I am 99% sure, I first learned this technique from Christine Thresh, but when I went looking on her website, I couldn’t find it … I hope my description and photos make sense, because I think it is a brilliant way to deal with the odd angles one often finds on paper foundation piecing patterns.
Onto the inset circle. I used the technique that Marie described so well in her Circle Tutorial. I confess that I wasn’t sure how the 6-minute circle technique would work with a small 3 inch circle, but it was great.
I started by making the freezer paper template: I pressed two layers of freezer paper together and then trimmed it to a 7 1/2-inch square.
I used a ruler to draw 2 diagonal lines to find the center, then used a compass to draw a circle with a 1 1/5 inch radius (for a 3-inch diameter) in the center of the square. I cut out the circle and pressed the template onto the wrong side of the paper pieced block.
Once I cut out the circle with a generous seam allowance, clipped the curves, folded the seam allowance back and glued (then pressed) it to the template, I centered it on the CIRCLE fabric (a 4 inch square), used a glue stick to hold everything in place and then sewed the seam as Marie shows in her tutorial.
After the seam was sewn, I removed the freezer paper template and trimmed the seam. As the French say, voila!
 |
 |
 |
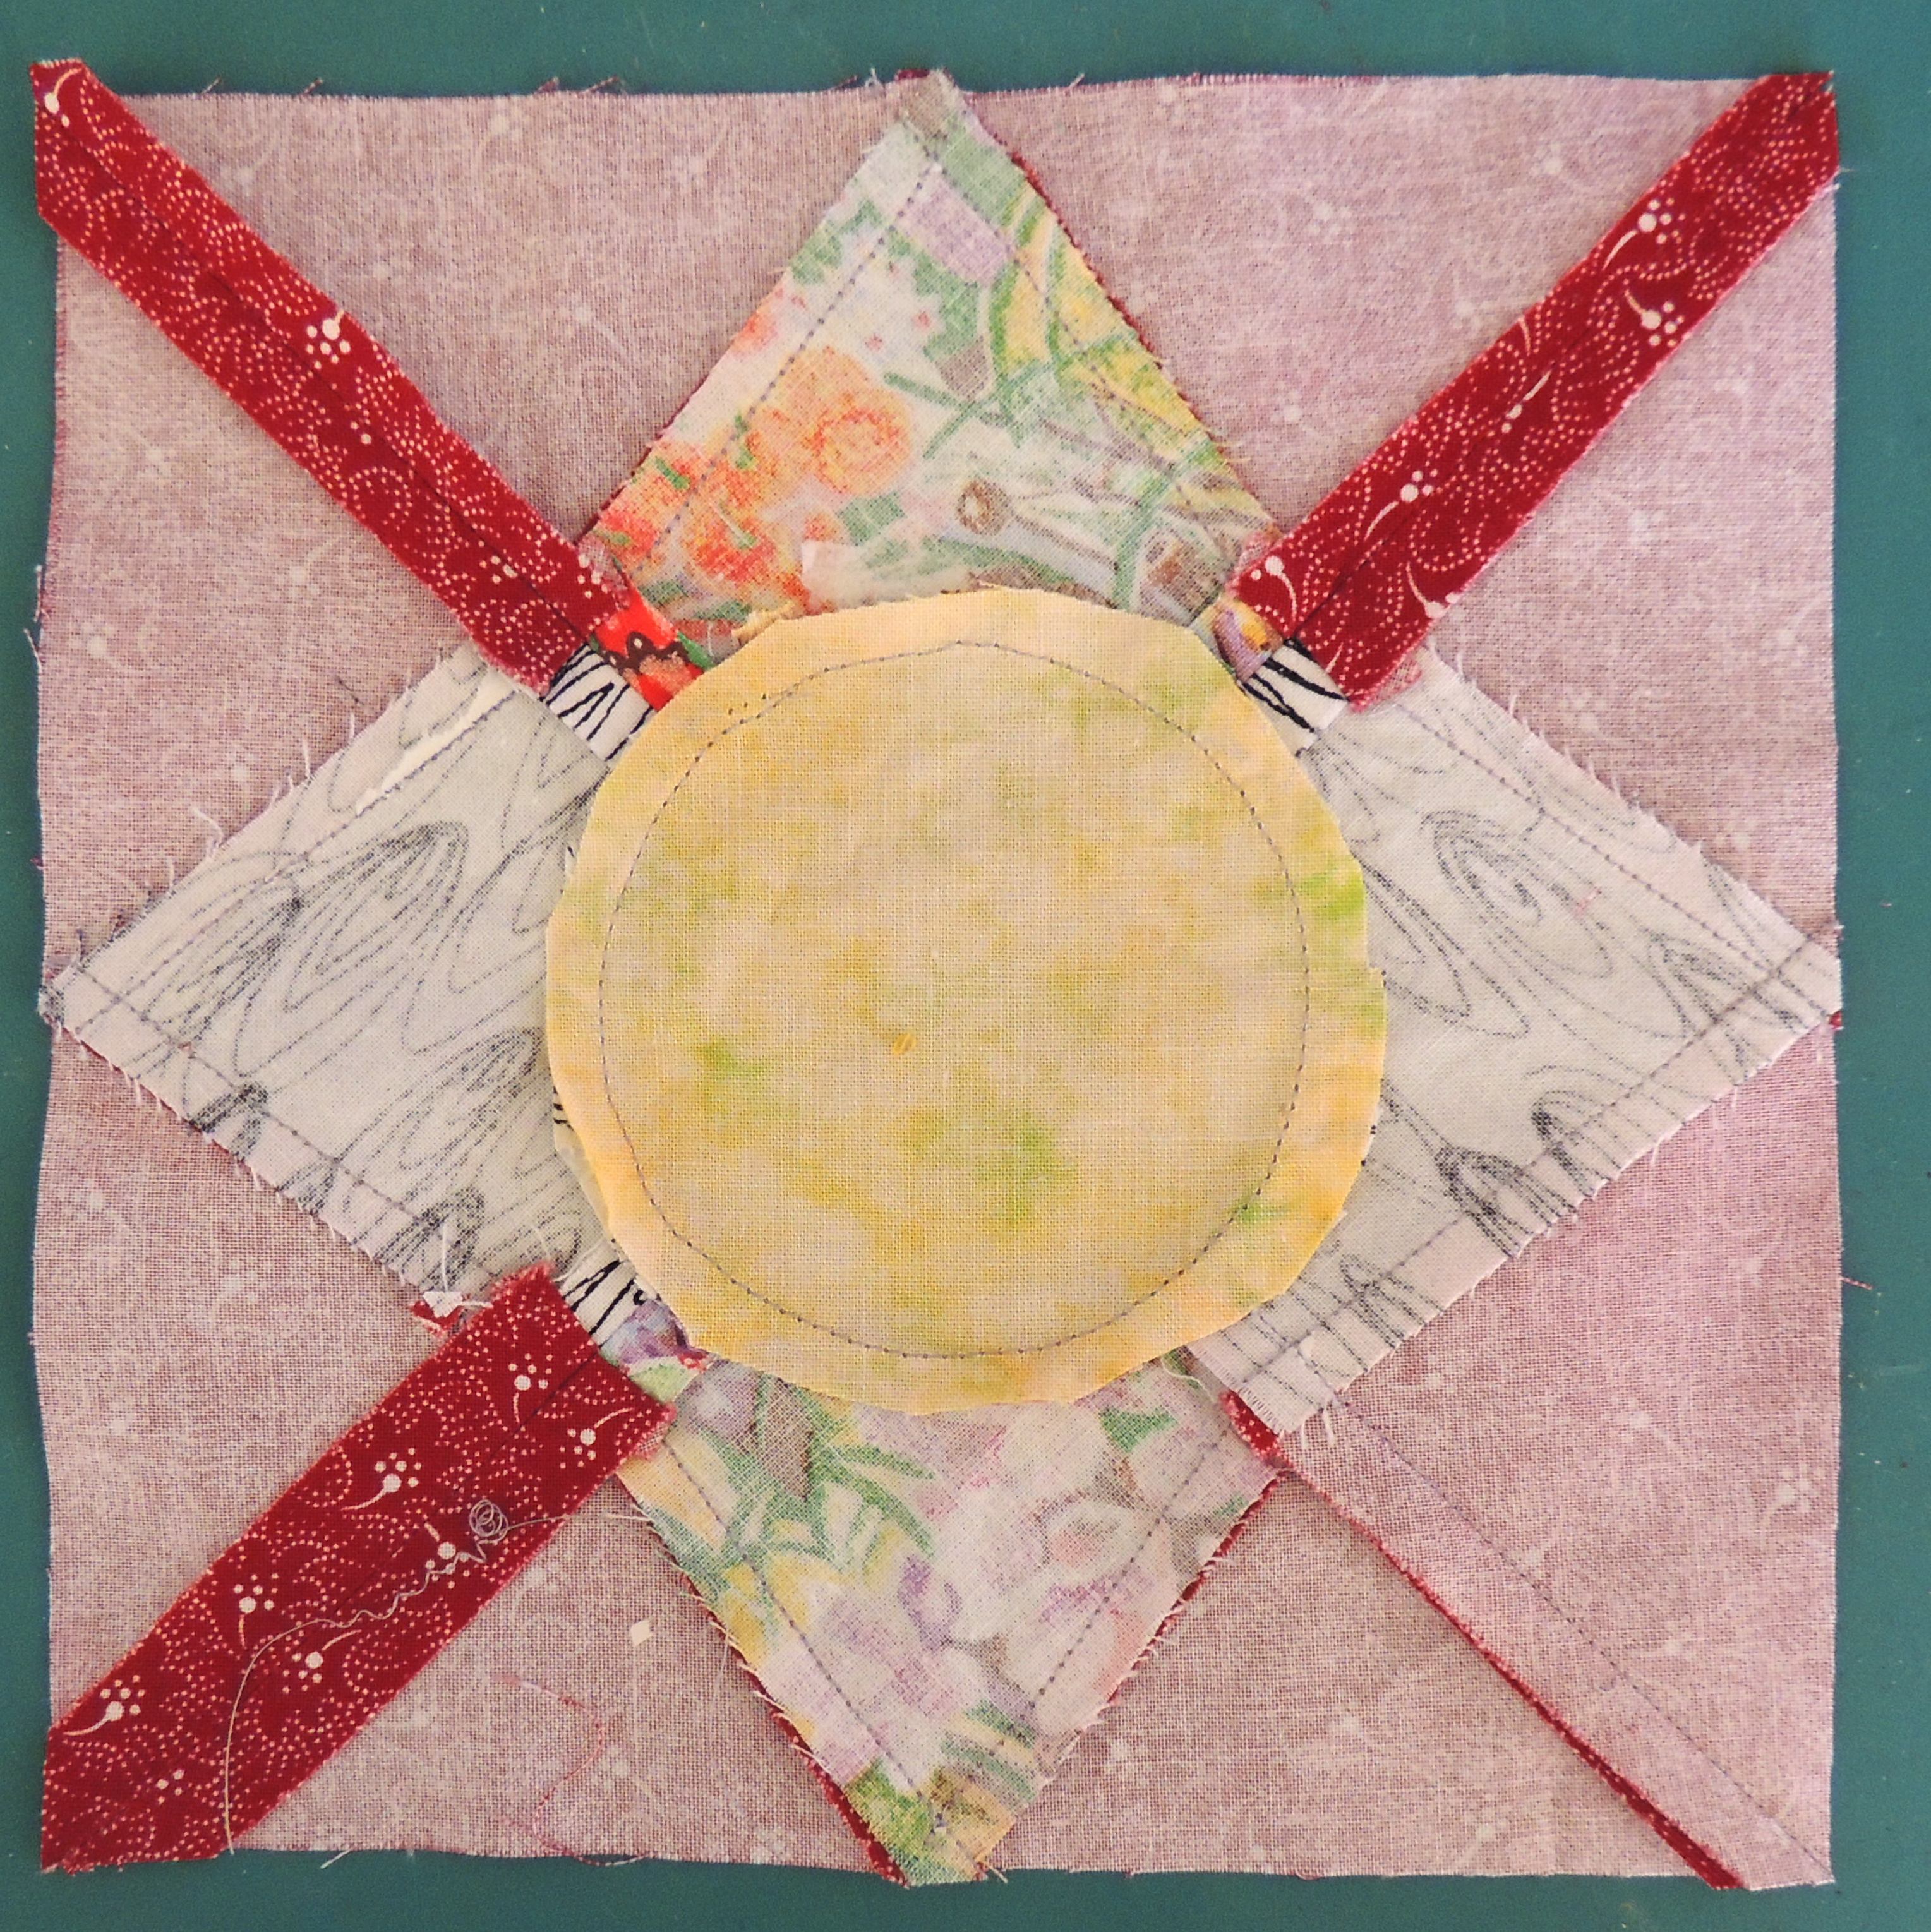
As you can see in the photo of the back of the block, I decided to press the seams where the units were joined together … and one of those seams accidentally flipped when I sewed the circle seam (I promised that I will fix it before I send it to one of our September winners. )