Silly String Blocks for July
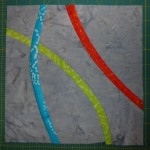
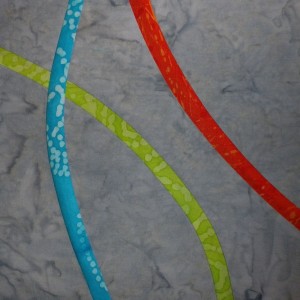 I am calling the block we’re making in July, Silly String. It consists of three bright bias strips inserted into curved cuts in a background square, with two of the strips crossing.
Directions for making it are below.
FABRIC GUIDELINES
For each block, you’ll need:
One large square of a LIGHT fabric that is NOT white or cream. It should read as a single color if you were looking at it from across a room.
Three different colored BRIGHT fabrics. These can be solids, tone-on-tones (TOT) or multicolor prints. Because of how we will be cutting these, even though you won’t need much, you’ll probably want to start with something like a 8-inch square and that 8-inch square will be enough for a bunch of blocks.
If you make multiple blocks, you can repeat fabrics, as long as each 4-fabric combination is unique.
You may make a maximum of 9 blocks to enter into the drawing.
TAGS & CATEGORIES FOR YOUR POSTS
For all posts related to this block, please add the tag Silly String.
Posts with blocks photos belong in the category blocks
Posts about mailing or receiving blocks belong in the category sent and received.
MAKING THE BLOCK
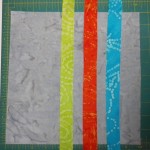 Begin by cutting one large square and three bias strips.
The large square should be at least 10 ” square. You may want to start with a larger square at first to see what measurement is going to work best for you.
The bias strips are cut at 1″ wide. These strips MUST be cut on the BIAS to work.
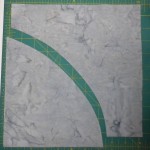 Begin by putting the large background square on a cutting board. With your rotary cutter, cut a smooth curve. You curved cut can be between two adjacent sides (like this one) or from top-to-bottom or side-to-side.
Insert one of your colored strips by sewing it first to the “inside” side of the curve. Then press the seam–the bias strip will stretch a bit on the outside edge in order for you to press everything nice and flat. Then sew the other side of the strip to the “outside” of your curve.
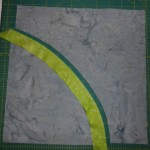
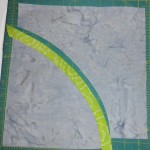
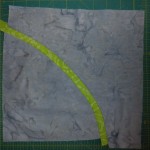
Don’t worry if your edges don’t line up perfectly. In my experience, sometimes they do and sometimes they don’t.
Repeat the process with a second strip … and then the third. Remember to make two of the strings cross in your block. Then square up your block to 9 1/2 inches square.
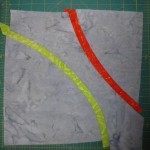
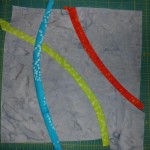
Then … if you like, make more blocks. Remember that you can repeat fabrics as long as each 4 fabric combination is unique.
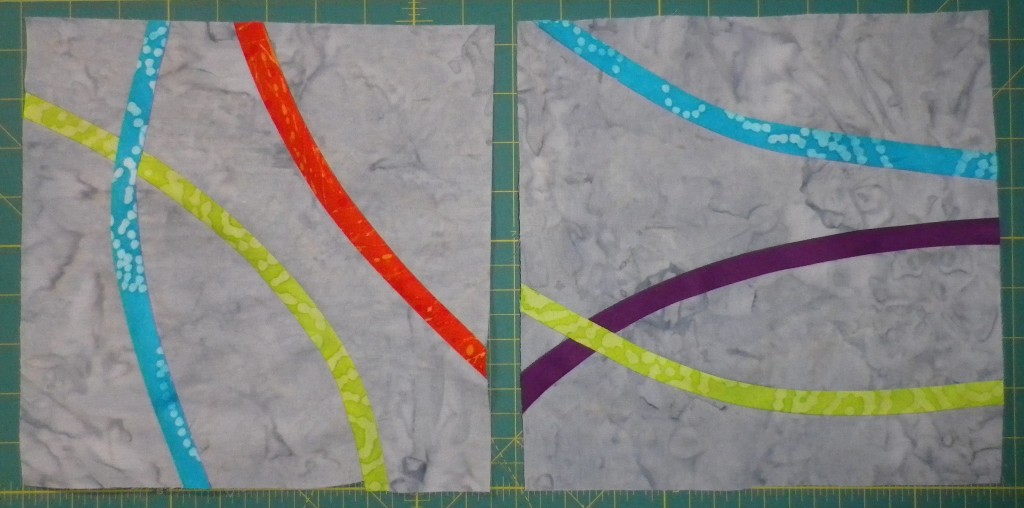

Is the string that crosses supposed to cross only ONE of the other strings or can it cross two?
It should only cross one other string, so each block will have two crossed strings and one “free” string.
Thanks! I just got back online after a nearly year away with my husband’s illness. I am trying to learn the new site. If I’m posting stuff in the wrong places, please don’t hesitate to set me straight. Thank you so much for continuing to do this fantastic project.
That looks like fun! I’ll try one this week and see what happens!
Very cute blocks! I loved the schoolhouses as well but it was a crazy month for me and i did not make them! 🙁
I am finished school now so I think I will try this one!
Thanks a lot Sophie!
I completely understand … June was pretty crazy for me, too 🙂
Yahoo…. I sat out in June, but I believe that I’m IN for July. I think this will be a neat block went put together in a quilt.
This looks like a lot of fun. I am not so great at curves but I am definitely going to give this a try!
Remember, the curves can be very gentle. Once you get the hang of it, then try sharper curves. I think getting the hang of these skinny curved insertions opens the door to a lot of design possibilities … so consider this block your learning curves 😉